Server setup
This chapter focuses solely on installing the server component!
If you want to run the FDM Monster Vue project (client) as well, please refer to the Client Setup guide.
Prerequisites
Before you begin, ensure that you have the following tools installed on your system:
- Node.js 24 LTS
- Yarn 4.12.0 or higher
- VS Code or WebStorm (your choice of IDE)
Clone the Repository
To get started, clone the FDM Monster repository from GitHub. Make sure to clone the develop branch
git clone -b develop https://github.com/fdm-monster/fdm-monster.git
Setting Up the Development Environment
- Navigate to the
serverfolder inside the freshly cloned repository
cd fdm-monster/server
- If you haven't installed
yarnyet, installyarn
npm install -g yarn
- Install the dependencies using
yarn
yarn install
-
Configure the environment variables by creating a .env file in the project root directory. You can use the provided
.env.templatefile as a template. -
Launch the FDM Monster server:
- VS Code: Create a run configuration that executes
yarn run devas the command. (See VS Code Run Configuration for detailed steps.) - WebStorm: Create a run configuration that executes
yarn run devas the command. (See WebStorm Run Configuration for detailed steps.)
- VS Code: Create a run configuration that executes
-
Access the running server at http://localhost:4000 in your preferred web browser.
VS Code Run Configuration
If the file ".vscode/launch.json" exists and looks correct, you can skip steps 2 to 4.
-
Open VS Code and navigate to the "Run and Debug" panel.
-
Click on the link
create a launch.json fileto open thelaunch.jsonfile. You should select Node.js as the type. If this does not work, you can manually create the file in the.vscodefolder in the project root directory. -
Paste the JSON content provided below into the
launch.jsonfile:
{
  "version": "0.2.0",
  "configurations": [
    {
      "name": "FDM Monster Server (dev)",
      "type": "node",
      "request": "launch",
      "runtimeExecutable": "yarn",
      "runtimeArgs": [
        "run",
        "dev"
      ],
      "cwd": "${workspaceFolder}/server",
      "protocol": "inspector",
      "restart": true,
      "console": "integratedTerminal"
    }
  ]
}
-
Save the configuration and close the
launch.jsonfile. -
In the "Run and Debug" panel, select "FDM Monster Server (dev)" from the dropdown.
-
Click on the "Start Debugging" button or press F5 to launch the server. Alternatively, you can click on the green play button or press Ctrl + F5 to launch the server without debugging.
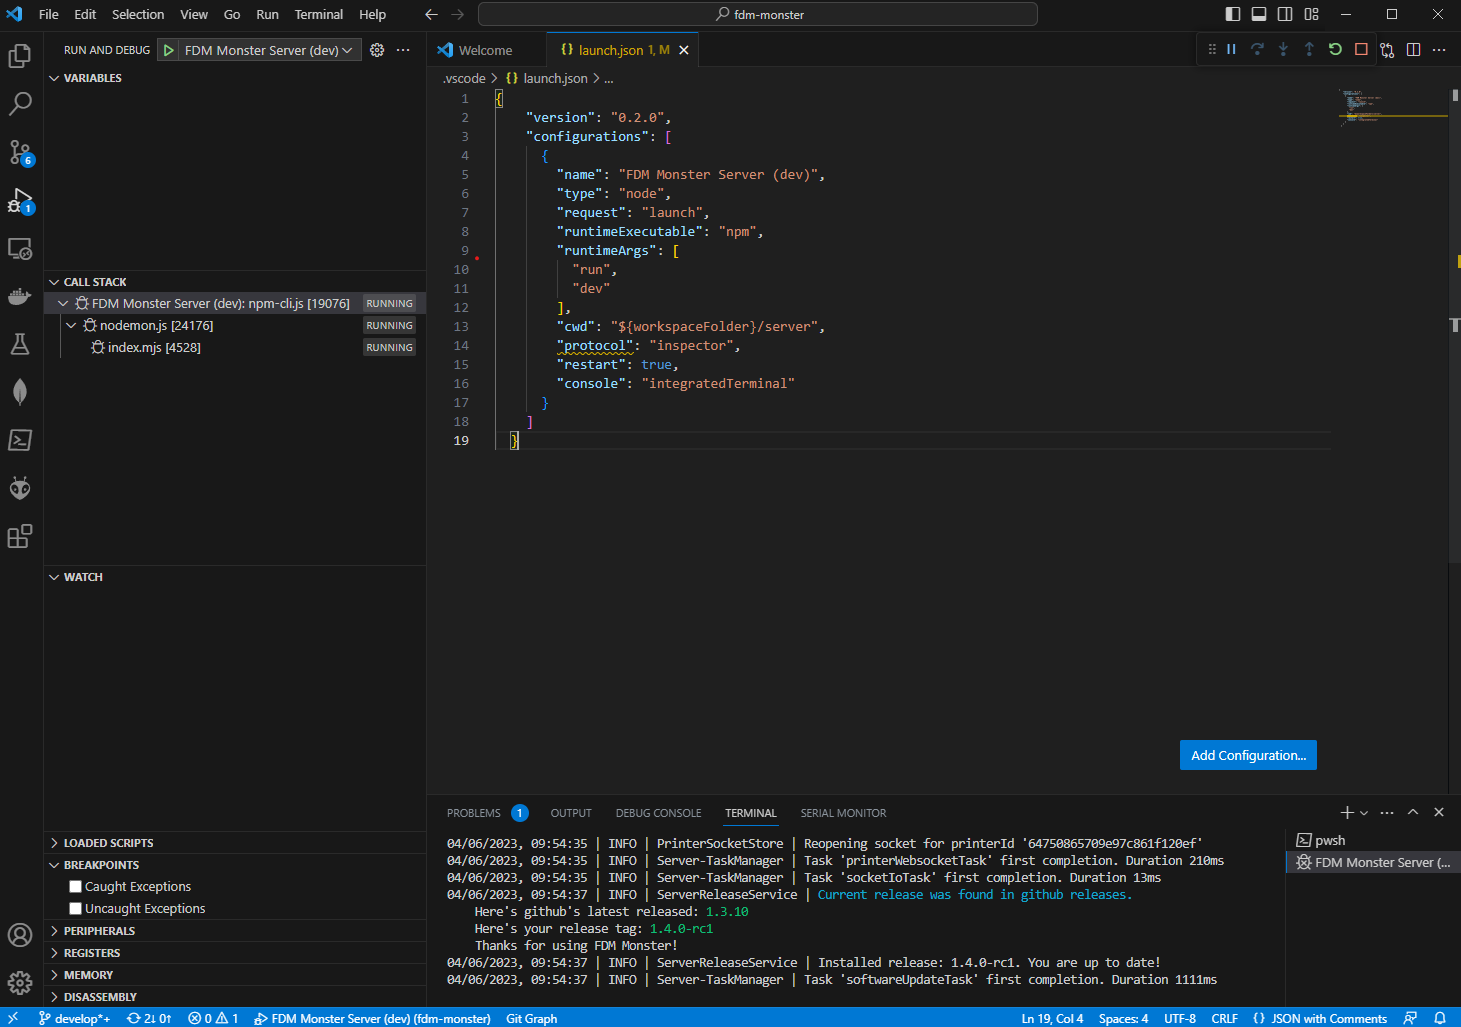 Screenshot that shows the VS Code setup in action.
WebStorm Run Configuration
To create a run configuration in WebStorm for running the FDM Monster server, follow these steps:
-
Open WebStorm and go to the "Run" menu.
-
Click on "Edit Configurations..." to open the "Run/Debug Configurations" dialog.
-
Click on the "+" icon to add a new configuration and select "NPM" from the dropdown.
-
Provide a name for the configuration (e.g.,
FDM Monster Server (dev)). -
Set the
package.jsonfile in the cloned repository:server/package.json. -
Set the Command to
run. -
Set the Scripts to
dev. -
Set the "Node interpreter" to the appropriate Node.js executable (e.g. v18.14.2).
-
Under the "Environment variables" section, click on the "+" icon and add a variable with the name
NODE_ENVand value development. -
Click "OK" to save the configuration.
-
In the top-right corner of WebStorm, select the created configuration from the dropdown.
-
Click on the green play button or press shift+F10 to launch the server without debugging. Alternatively, you can click on the green-red bug button or press shift+F9 to launch the server with debugging.
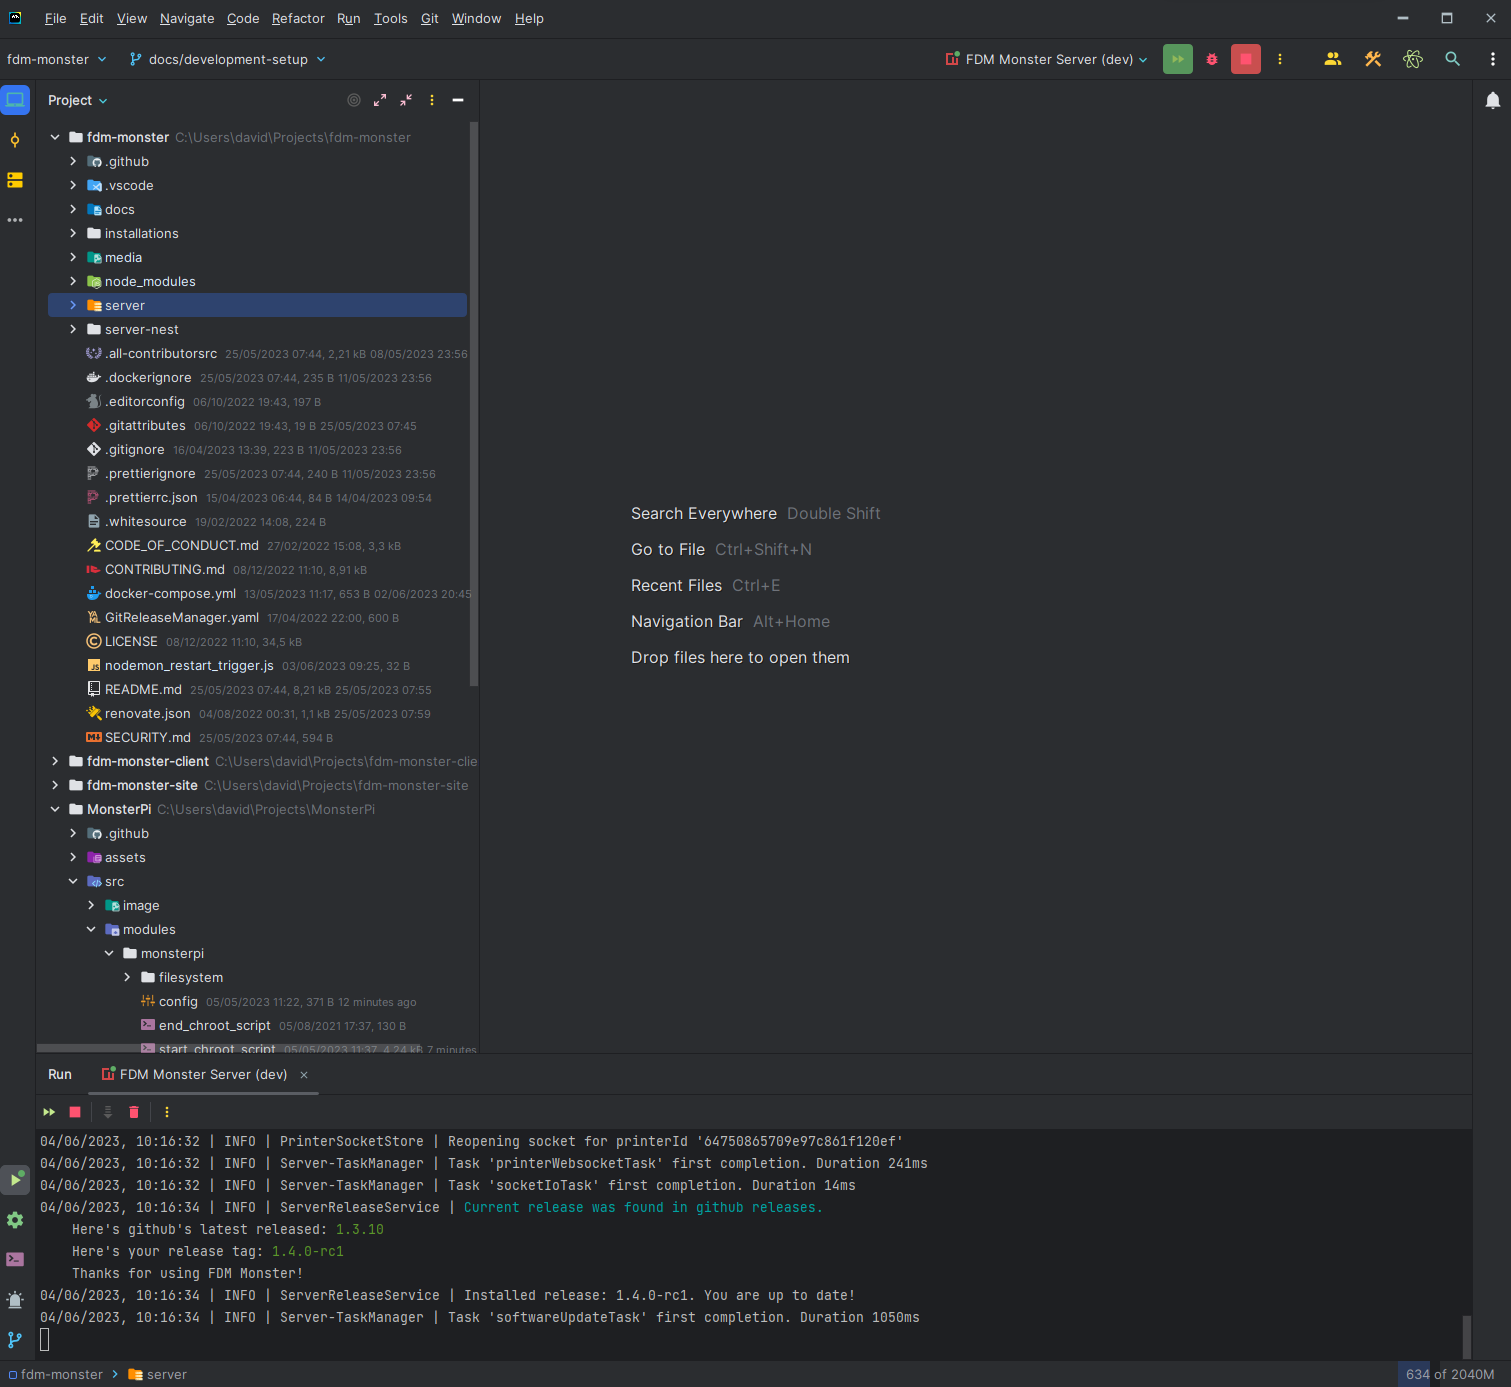 Screenshot that shows the WebStorm setup in action.
Next Steps
Congratulations! You have successfully set up the FDM Monster server.
The next step is to set up the FDM Monster client. Please refer to the Client Setup guide.